
By Emily B.
This is the story of how I ditched my mascara forever.
I’ve been hopelessly devoted to mascara for as long as I can remember. I’ve fallen in and out of love with many different mascaras but recently, I’ve been yearning for a more long-lasting product to make my lashes look more voluminous. Strip lashes are unreliable and salon extensions are not wallet-friendly, so, I decided it was time to do a deep dive into the DIY lash world and find a product that could revolutionize my lashes on a budget.
Tired of Raccoon Eyes and Clumps

My motivation for switching was short and simple: I was tired of the daily mascara struggles (there were many). The smudges, the clumps, the fallout, the regular touch-ups, battles with my lash curler, and the impossible task of achieving the same full, feathery look on both eyes.

Not to mention the panda eyes after a day’s wear or the dreadful mascara tears on an unexpectedly emotional day (IYKYK). After spending so much money trying to find the right mascara, I realized that false lashes might be a better option for me to achieve a more natural, less messy, yet elevated look.
The Product That Changed My Lash Life

After seeing their ads all over my Instagram, I finally decided to try out the Urban Doll DIY Lash Extension Kit. It’s a new product that promises salon-like lash extensions that are so easy to apply, I could do it myself. What’s even better is that the kit was on sale for $100 off! I was more than ready to give it a shot!
Breaking Down The Process (Not as Scary as You Think!)

The Urban Doll kit comes with individual lash clusters, a specially formulated bond, a keratin-infused sealant, an application tool, a removal serum, and comprehensive instructions on their website. The process involves carefully applying each lash cluster beneath your natural lashes using the bond, then sealing and pinching with the applicator to keep them locked in place.
What Makes it Better than Mascara?

This at-home lash extension kit is essentially a (big) step up from traditional mascara. Instead of coating your lashes, these kits provide semi-permanent extensions that adhere to your natural lashes, creating a fuller, fluffier look that lasts for up to two weeks or more, rather than just a few hours.
Application Time!
Before starting, I made sure my natural lashes were thoroughly clean and free of any oil or mascara. The kit advises doing a patch test with the adhesive to check for any sensitivity – a necessary precaution I was glad to follow.

I documented my journey with the kit for you all to see just how easy it is to apply not to mention how absolutely gorgeous they look too. Below are some photos of me during the application process:
My Step-by-Step Application Experience
Step 1: I started by applying the bond to my lashes like mascara.

Step 2: Attach each lash cluster carefully beneath your natural lashes. Placing each lash cluster took some patience at first, however, I could see my lashes transforming with each addition, which was quite exciting.

Step 3: Then I went in with the sealant serum which is supposed to lock your lashes in place and remove any stickiness from the bond.

Step 4: Finally, I pinched my lashes together with the applicator tool, and voila! My lashes were looking better than ever in just minutes.

Here is a photo of one side of my lashes done immediately after the application:

I was quite impressed because I was so used to my lashes with mascara, but these looked a million times better. The lashes looked full yet wispy, long, and most importantly, seamless! The difference is quite significant. It’s like waking up with perfectly done eye makeup!
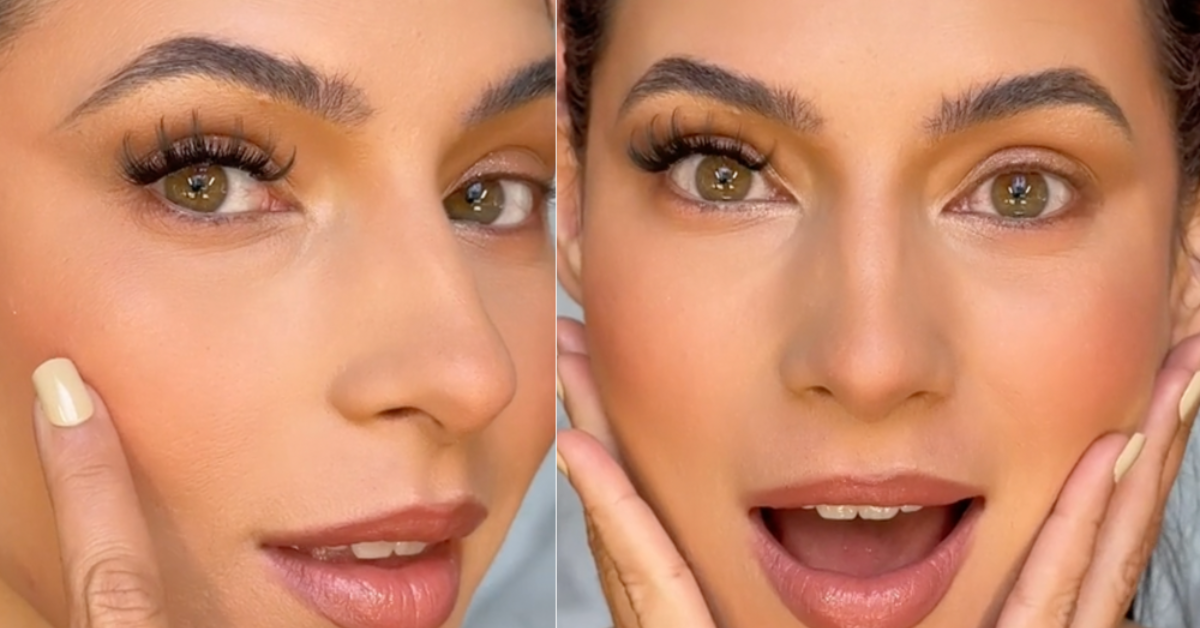
Here are my before and after photos with both sets of lashes applied:

Three Weeks of Fluffy, Perfect Lashes
Three weeks into wearing the extensions, they held up wonderfully. No fallout, no weird movement. They looked just as fantastic as on day one. I was SHOCKED. Compared to the daily mascara routine, it’s a massive improvement and a huge time-saver for my morning routine.

I am definitely converted. While the application process requires a bit more effort and time, the results are more than worth it.
Price Comparison
The cost of the kit is about equivalent to two high-end mascaras. But considering it lasts far longer and looks better, it’s a win in the financial department too.
The Good and The Bad
Pros: Lasted more than the promised 2 weeks, customizable lash length, seamless look, and cost-effective.
Cons: Slight learning curve, dangerously gorgeous lashes
Will I Ditch My Mascara For Good?

The easy answer is, 1000% yes. Transitioning from mascara to the Urban Doll DIY lash extension kit has been a revelation that you need to experience. Lucky for you, their full starter kit is on sale for $100 off on their website and they’re going fast! So make sure to run to their website before they are all sold out!
Have you ever thought about switching from mascara to at-home lash extensions? Would you give these DIY lash extensions a try? Give these gorgeous DIY extensions a try while they are still on sale for $100 OFF! Run to their website before they are all sold out!
I’d love to hear about your experiences with your DIY lashes once you give them a try in the comments below. Good luck!